Metal Sequins for Nails: Beginner-Friendly How-To Guide
Learn what metal sequins for nails are and how to apply them step by step — perfect for beginners wanting salon-style accents at home.
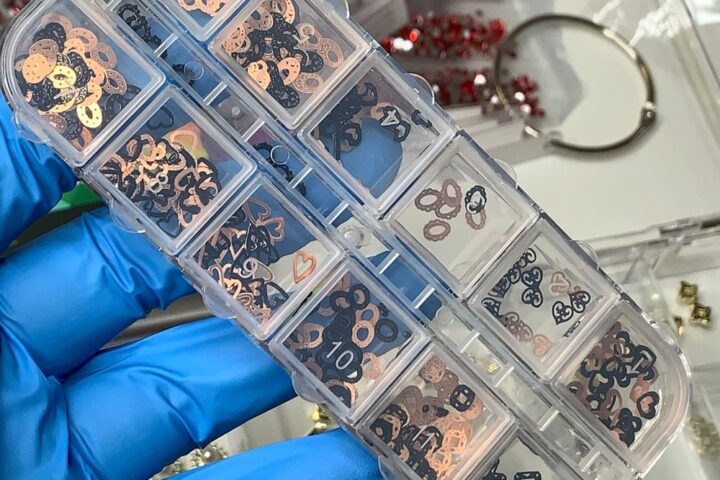
Small metallic accents can transform a simple manicure into a signature look. Metal Sequins (SKU: 8907) for Nail art designs arrive as a ready-to-use set of decorative pieces that beginners and pros alike can apply to create sparkle, texture, and tiny focal shapes on polish or gel.
What “metal sequins” means and why they’re popular
In nail art, “metal sequins” refers to thin, reflective shapes made for surface decoration. They come in different cuts—hearts, rounds, stars and other tiny shapes—that catch light and add contrast against a base color. Because they sit on top of polish or gel, sequins are great for accent nails, French twists, or layered designs without advanced sculpting skills.
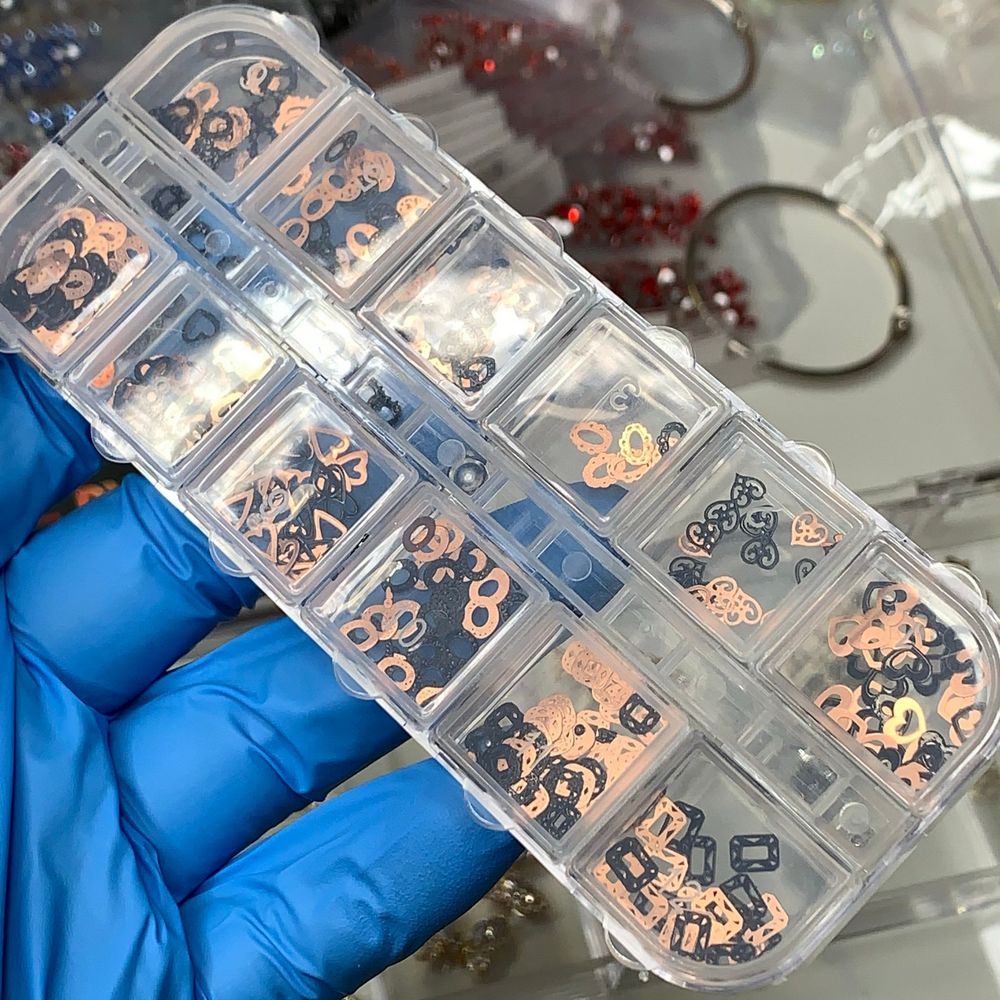
What’s included in this box
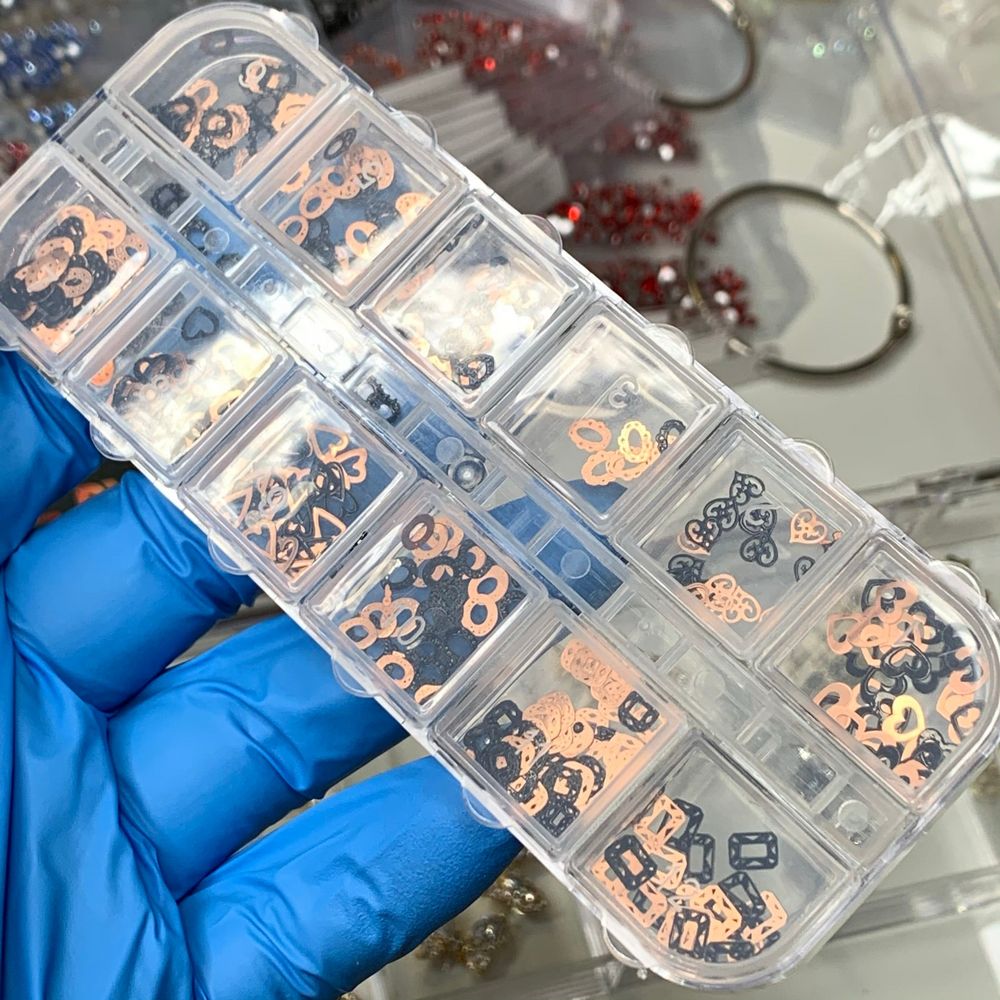
This pack contains 12 different styles of sequins in a single box so you can mix and match shapes across manicures. The kit is sold as Metal Sequins (SKU: 8907). If you want to add them to your kit, check the metal sequins for nails pack metal sequins for nails pack for details and availability.
Beginner’s step-by-step application
- Prep the nail: Clean nails, push back cuticles and remove oils with a nail cleanser or rubbing alcohol. A smooth base helps sequins adhere evenly.
- Apply base color: Paint one or two thin coats of your chosen polish or an even layer of builder/base gel. Cure gel as directed if using gel systems.
- Place adhesive: For polish, apply a slightly sticky wet topcoat where you want the sequin. For gel, use a thin layer of no-wipe top gel or a small dot of nail glue.
- Pick and position: Use a wax pencil, tweezers, or a silicon nail tool to lift a sequin and position it on the sticky area. Press gently to seat it flat to avoid lifting.
- Secure: Seal with a topcoat—one or two thin passes. If using gel, encapsulate with a layer of builder or top gel and cure as directed by the product manufacturer.
- Finish and clean edges: Wipe away any excess adhesive before the final cure and file or buff lightly around the edges if needed to avoid snags.
Key features to consider in context
- Variety of shapes: Twelve styles mean greater design flexibility—use hearts for romantic looks, tiny rounds for scattered sparkle, or mix shapes for texture.
- Top-layer application: Sequins are applied on the surface rather than sculpted into the nail, making them beginner-friendly and quick to place.
- Reusable styling ideas: One box supports multiple manicures since you can use just a few pieces per set and store the rest for future designs.
Practical tips and common beginner mistakes
- Work with thin coats: Thick polish creates bumps under the sequin. Thin layers allow a smoother finish and better adhesion.
- Don’t over-seal: Too many heavy topcoat layers can dull the reflective quality. Use two thin coats instead of one heavy coat.
- Mind placement: Place sequins while adhesive is still tacky; waiting too long causes poor adhesion and lifting.
- Tools help: A wax pencil or silicone dotting tool gives far more control than bare fingers for tiny pieces.
- Test one nail first: If you’re unsure how a sequin will sit over a particular polish or gel, try one accent nail before committing to the whole set.
Who should buy this pack?
This set is ideal for nail students, hobbyists building a home kit, and salon technicians who want quick accents without sculpting. Because the box includes multiple shapes, it’s also useful for content creators or designers experimenting with new looks. The kit is affordably priced at $6.00, though prices may change.
Care and safety notes
- Sanitation: Keep unused sequins in their original container to avoid contamination. If sharing between clients, use single-use tools or thoroughly disinfect implements.
- Avoid ingestion: Sequins are decorative items only—keep away from children and pets.
- Skin sensitivity: If you or a client has a known allergy to metal finishes or adhesives, do a patch test first.
- Removal: Remove sequins gently—soften adhesive with polish remover or follow your gel-removal protocol to avoid damaging natural nails.
Quick recap
Metal sequins are an easy, creative way to elevate manicures without complicated techniques. With 12 styles in one box, beginners can experiment with placement, layering and sealing to achieve salon-worthy accents. For professionals and home users alike, a little practice with thin coats and the right tools makes sequins a low-effort, high-impact addition to any nail kit.
Dynamic Nail Supply lists this kit under their sequins and nail decor items for easy reference.