5-in-1 Nail Drill Bit: Beginner’s Step-by-Step Guide
A beginner-friendly explainer for the 5-in-1 nail drill bit—definitions, step-by-step use, tips, and safety for finishing acrylic and sealing cuticles.
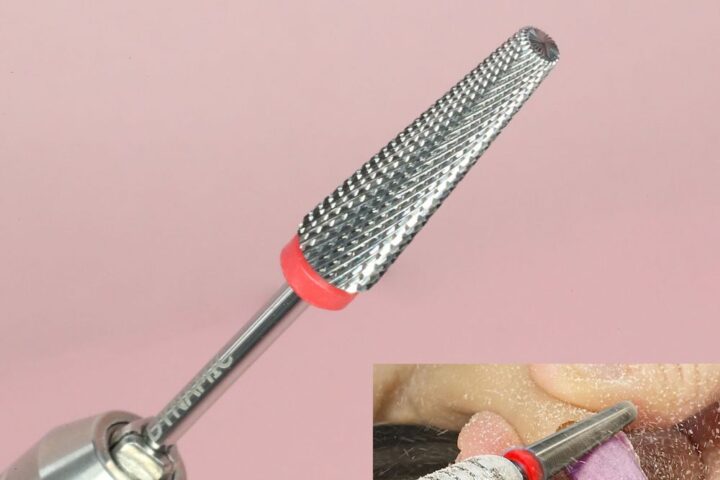
New to electric nail drills? This guide breaks down the Super Long 5-in-1 drill bit in plain language so you can understand what it does and how to use it safely. We’ll define industry terms, walk through a basic workflow for smoothing and sealing acrylic, and share must-know tips for consistent results.
Before you buy or try one in your kit, consider this 5-in-1 drill bit to see if its shape and grit match the services you offer.
Quick overview: what this bit is and when to use it
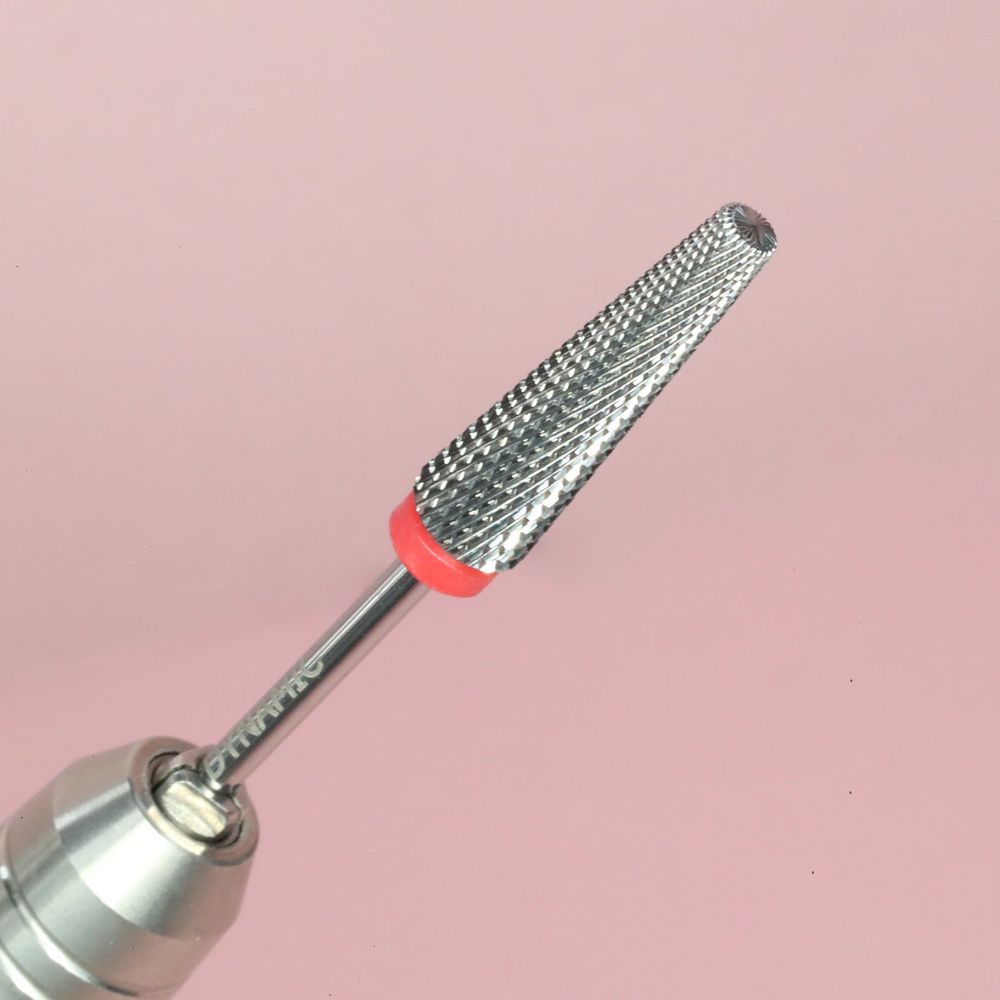
The Super Long 5-in-1 drill bit is a tapered cone-shaped carbide tool with a very fine abrasive surface. It’s designed primarily for finish shaping: smoothing acrylic overlays and sealing the area around the cuticle for a polished transition. Because of its fine texture, it’s also suitable for gentle gel removal and final refinement of the nail bed. This particular item is offered at $16.00, price subject to change.
Key terms explained for beginners
- Fine grit / Very fine grit — refers to the abrasive coarseness. Finer grits remove material slowly and leave a smoother surface.
- Tapered cone — a cone shape that narrows toward the tip; it’s good for working near the cuticle and sidewalls without gouging.
- Sealing the cuticle — smoothing the acrylic or gel at the cuticle line so there’s a neat, blended finish.
- Clockwise / counter-clockwise use — this bit can be run in either rotation direction, making it friendly for left- and right-handed techs.
Step-by-step: how to use the 5-in-1 drill bit (beginner workflow)
Follow these steps at a low speed until you’re comfortable. Practice on tips or practice fingers before working on a client.
- Set up: Fit the bit securely into your handpiece and choose a low to medium speed. Fine-grit bits remove less material at once—start slow.
- Inspect the nail: Check the acrylic or gel surface for high spots, ridges, or unblended edges near the cuticle.
- Approach the cuticle: Hold the tapered cone at a shallow angle and gently glide toward the cuticle line to blend product without cutting skin.
- Even out the surface: Use light, sweeping motions across the nail to remove small imperfections and create a smooth plane for final buffing.
- Final pass: Finish with a gentle, uniform stroke across the entire nail to leave an even texture ready for buffing or polish.
- Clean and inspect: Turn off the handpiece, remove the bit, and inspect under good light. Repeat only if necessary at low speed.
Practical tips to get consistent results
- Work with short passes and light pressure—fine grit is forgiving but can still over-thin product if you linger in one area.
- Keep the handpiece steady; let the bit do the cutting rather than forcing it into the nail.
- Switch direction if a position feels awkward; the ability to run clockwise or counter-clockwise helps with ambidextrous use.
- Use appropriate lighting and magnification when refining the cuticle area to avoid accidental skin contact.
- Pair this bit with a coarser carbide earlier in the service for reduction, then use this fine-grit cone for finishing.
Key features in context
The tapered cone profile makes access to the cuticle and sidewalls easier than straight barrels or cylinders, and the very fine abrasive keeps the finish smooth without aggressive removal. The design supports safety filing when used correctly—its geometry helps prevent digging into the natural nail, especially when you maintain motion and low-speed operation.
Who should use this bit?
This tool is aimed at nail technicians who need a reliable finishing bit for acrylic overlays and subtle gel refinement. It’s particularly helpful for techs who value control when working around the cuticle—whether you’re left-handed, right-handed, or ambidextrous, the bit’s reversible use accommodates your preferred rotation and technique. Available through Dynamic Nail Supply, it’s a practical add-on for beginner-to-intermediate kits.
Care and safety notes
- Always run the bit at recommended speeds for fine-carbide tools; consult your handpiece manual if unsure.
- Do not press hard or hold the bit in one place; keep motions fluid to avoid heat buildup or thinning the natural nail.
- Clean the bit after use—remove dust and product residue and disinfect according to your salon protocols.
- Replace the bit if the abrasive surface wears smooth or if you notice chatter, uneven cutting, or visible damage.
Conclusion
The 5-in-1 nail drill bit is a versatile, fine-grit finishing tool that simplifies smoothing and sealing work around the cuticle. For newcomers, its tapered cone shape and reversible operation make learning safer and more predictable. Start slowly, practice on non-client nails, and follow basic care routines to keep the bit performing well.