3D Halloween Nail Charms — Skulls & Claws Set
Beginner-friendly guide to using 3D Halloween nail charms—skulls, skeleton hands and claws. Step-by-step application, styling ideas, and safety notes.
Small, dramatic accents can turn a basic manicure into a statement look — and 3D charms are the fastest way to get there. This guide explains what 3D Halloween nail charms are, what you’ll find in a typical set, and how to apply them step by step so even a newcomer can achieve spooky salon results at home.
What are 3D Halloween nail charms?
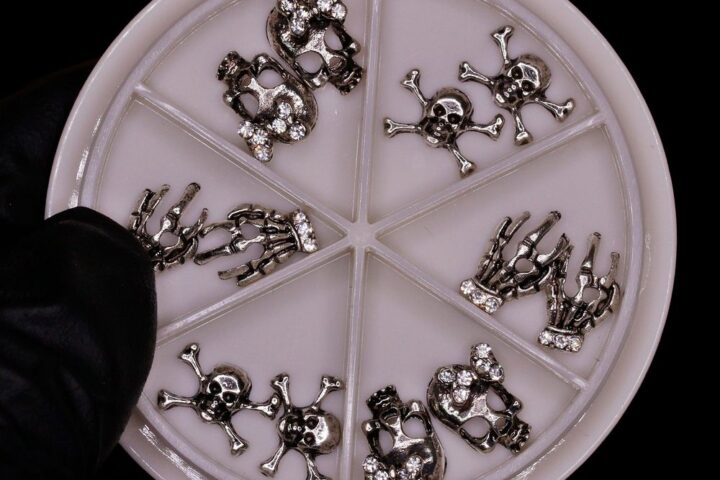
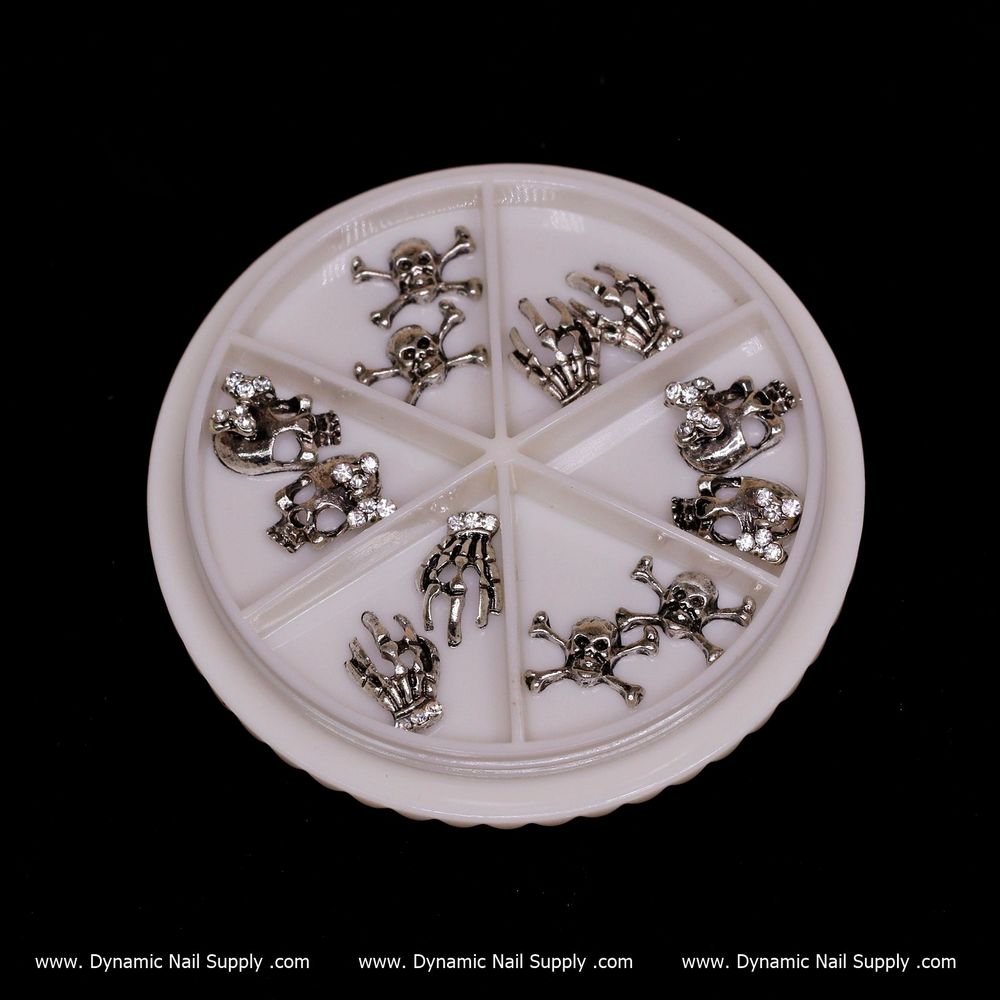
3D Halloween nail charms are tiny, shaped decorations made to adhere to a nail surface for a raised, textured effect. The Halloween-themed set covered here includes skulls, skeleton hands and claw motifs in multiple styles, grouped so you can mix and match across fingers for an eerie, coordinated look.
What’s in the pack and quick facts
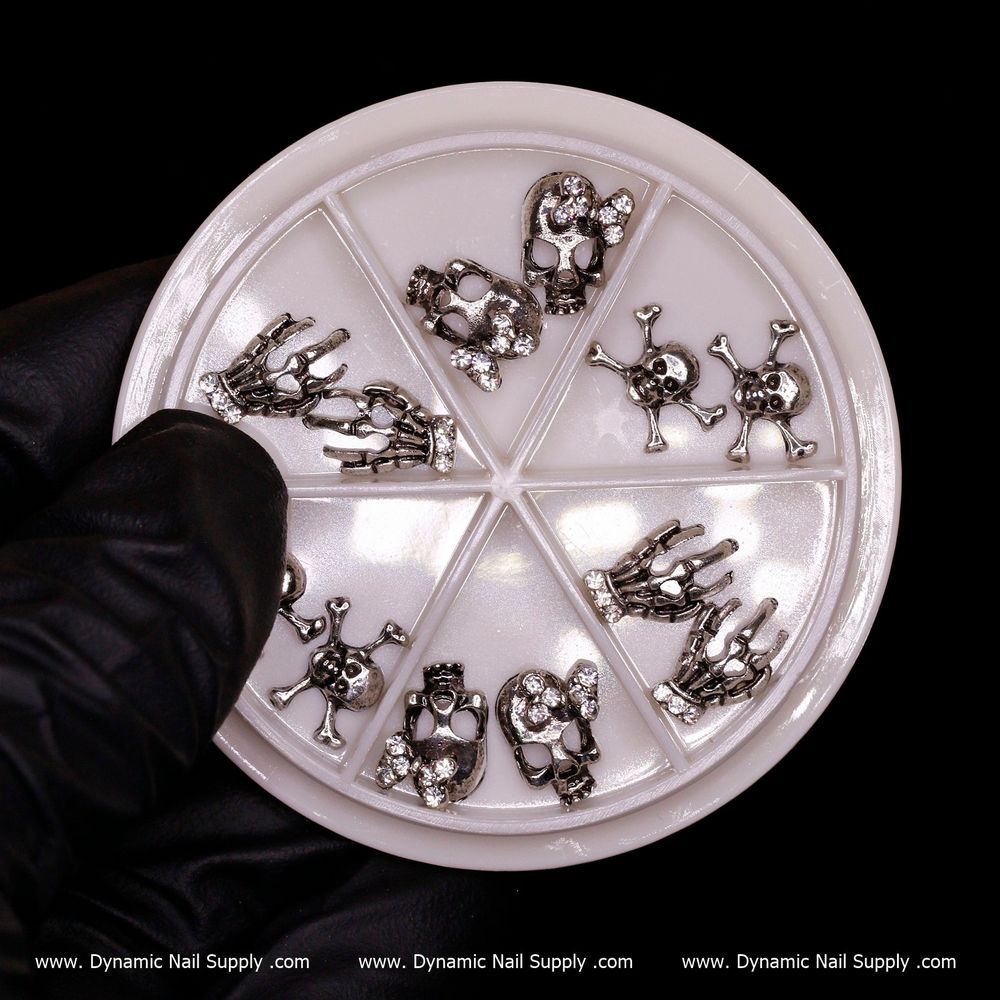
Each set contains 12 pieces total: six different styles with two pieces of each style. That variety makes it simple to plan a balanced arrangement—use a skull on the index, a claw on the ring finger, and a skeleton hand on the thumb, for example. The set is sold for $8.00, though prices can change.
For a closer look and a short demo, check Dynamic Nail Supply’s Instagram @DynamicNailSupply. You can also find and order these 3D nail charms to add skulls and claws to your designs.
Tools and supplies you’ll need
- Clean nails (natural or enhancements) with polish or base color applied and cured/dried.
- Nail glue or a builder gel/topcoat that acts as an adhesive.
- A pair of tweezers or a wax picker for precise placement.
- A small dotting tool or toothpick to adjust position.
- Clear topcoat or gel topcoat to seal the charm edges.
Step-by-step: beginner-friendly application
- Prep: Start with clean, dry nails. If you’re using polish, finish the color layer before adding charms. Remove any dust or oils for best adhesion.
- Plan your layout: Arrange the charms on a flat surface to decide the placement for each nail. Because the kit includes two of each style, you can create mirrored looks or staggered placements.
- Pick the charm: Use tweezers or a wax picker to lift a charm. Handle gently to avoid bending or scratching delicate details.
- Adhere: Apply a small drop of nail glue to the nail where the charm will sit, or brush a thin layer of builder gel/topcoat. Place the charm into position and press lightly for a few seconds.
- Secure: If you used gel, cure under your LED/UV lamp according to your gel’s instructions. If using glue, allow it to set fully before moving to the next nail.
- Seal the edges: Apply a clear topcoat around (not necessarily over) the base of the charm to help prevent lifting. For extra hold, you can apply a thin topcoat over exposed edges but avoid filling intricate details if you want the 3D texture to remain pronounced.
- Finish: Check each charm for secure adhesion and make small adjustments if needed. Clean the nail area gently to remove any excess glue or residue.
Styling ideas and placement tips
- Use one large charm as a focal point on an accent nail and keep other nails minimalist to avoid an overcrowded look.
- Mix textures: pair a metallic polish with skull charms for a gothic glam vibe, or matte black polish with claws for a grungier effect.
- Symmetry vs. asymmetry: mirrored charms on both hands read polished; scattered placement creates a more eclectic, DIY aesthetic.
- Layer small decals or rhinestones around a charm to integrate it into the manicure more naturally.
Who this set is for
These charms are suited to nail artists, hobbyists, and anyone who enjoys seasonal nail art. The kit’s variety is ideal for beginners because duplicates let you practice placement and create coordinated looks without committing to a single design. Professional technicians can also use the pieces as quick accent options for themed services.
Care and safety notes
- Small parts: charms are small and could pose a choking hazard—keep away from young children and pets.
- Avoid heavy impact: charms protrude from the nail surface and can catch on fabrics or be knocked loose by rough activity. Wearers should be mindful of this when doing hands-on tasks.
- Removal: do not forcibly pry charms off. Soak or use the appropriate remover method for the adhesive you selected to minimize damage to the natural nail.
- Allergies and sensitivities: if you experience irritation after applying adhesives or topcoats, remove the manicure and consult a professional.
Final thoughts
3D Halloween nail charms are an easy, high-impact way to elevate seasonal manicures. With two of each of six spooky styles, this compact kit gives beginners room to practice and create coordinated looks without buying multiple packs. Follow the simple steps above, take basic safety precautions, and you’ll have striking skulls, skeleton hands and claws that turn heads at every Halloween event.